
Datacenter Proxies Quick Start Guide
Datacenter Proxies
Quick Start Guide
Quick Start Guide
Blurpath datacenter proxies are dedicated static IPs hosted in commercial colocation facilities rather than on household connections. They are not shared with other customers, they keep the same address for the whole rental period, and they carry far more bandwidth per IP than a residential line — which is why they are the usual choice for high-volume crawling, uptime monitoring and API testing where the target does not screen datacenter ranges.
In this guide you can learn more about how to purchase and use Blurpath datacenter proxies.
Register for a Blurpath Account
Before you start using Blurpath datacenter proxies, register an account first.
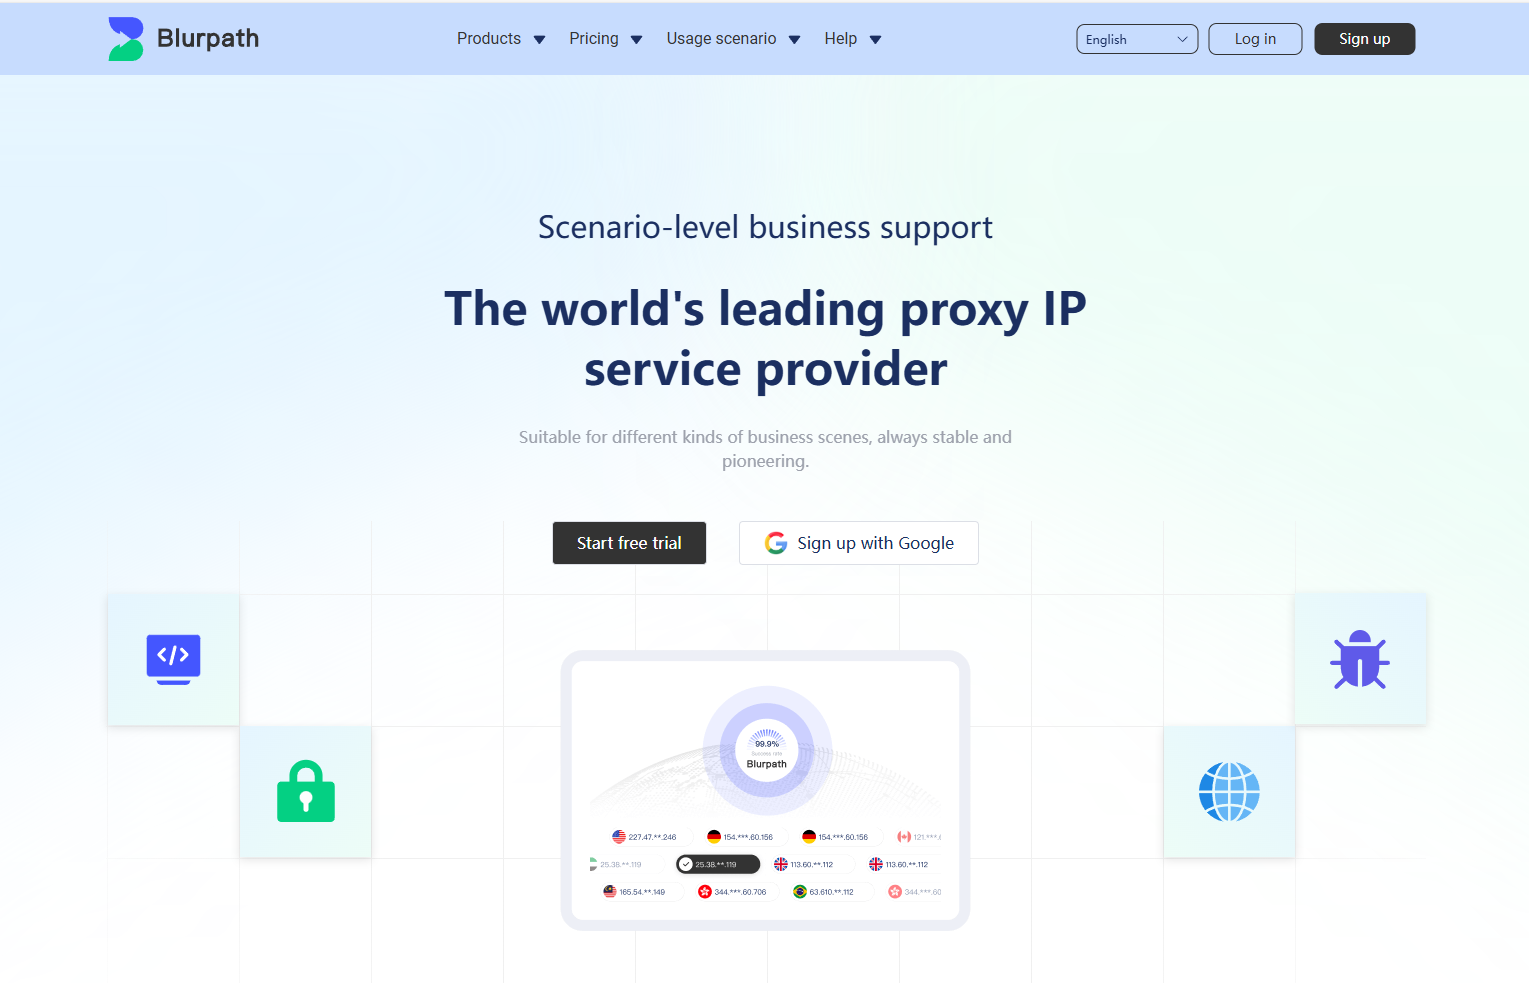
Visit the official website homepage and click [Start Free Trial] to sign up.
Purchase a Datacenter Proxies Package
Once your account is registered, open the dashboard and pick the datacenter package you want to buy.
- From the left-hand menu, select Dedicated data
- Click [Pricing] to open the datacenter purchase page
- Choose the rental length — weekly, monthly or quarterly
- Select the IP region and how many dedicated IPs you need
- Click [Buy now] to continue to payment

- On the payment screen, select your preferred payment method
- Click the payment button to complete the transaction
Note: if you have a coupon code, enter it in the coupon code field.

Payment methods supported by Blurpath
- Wallet
- Credit Card
- Cryptocurrency
- PayPal
- Alipay
As soon as the order is paid the dedicated IPs are reserved for you and the remaining rental time starts counting.
Get Datacenter Proxies from Your Dashboard
- Go to the dashboard and select Dedicated data
- Click the Proxy List button to open the IP list
You can view the following information about the IP in the list:
The IP list shows everything you need to connect:
- IP address and port
- Proxy username and password
- Country or region the IP belongs to
- How much rental time is left on that IP
- When the IP was purchased

Using Datacenter Proxies
You can verify a datacenter proxy by running a cURL command in a terminal or in your scripting environment. The command below asks http://myip.ipip.net which address the request appears to come from.
curl -x IP:Port -U "td-customeI-USERNAME:PASSWORD" http://myip.ipip.net
Please note:
- Replace IP:Port with the address and port shown in your proxy list
- Replace USERNAME:PASSWORD with the proxy credentials you created in the Blurpath dashboard
Other
We have compiled tutorials on integrating Blurpath datacenter proxies with third-party tools to help you get started. View
Documentation.
Related Articles
Dynamic Residential Proxies
Quick Start Guide
Quick Start Guide
Dynamic Residential Proxies Quick Start Guide
In this guide, you can learn more about how to use Blurpath dynamic residential proxies.
2025-04-02
Static Residential Proxies
Quick Start Guide
Quick Start Guide
Static Residential Proxies Quick Start Guide
In this guide, you can learn more about how to use Blurpath static residential proxies.
2025-04-02
Unlimited Residential Proxies
Quick Start Guide
Quick Start Guide
Unlimited Residential Proxies Quick Start Guide
In this guide, you can learn more about how to use Blurpath Unlimited residential proxies.
2025-04-03